Create snapshot
-
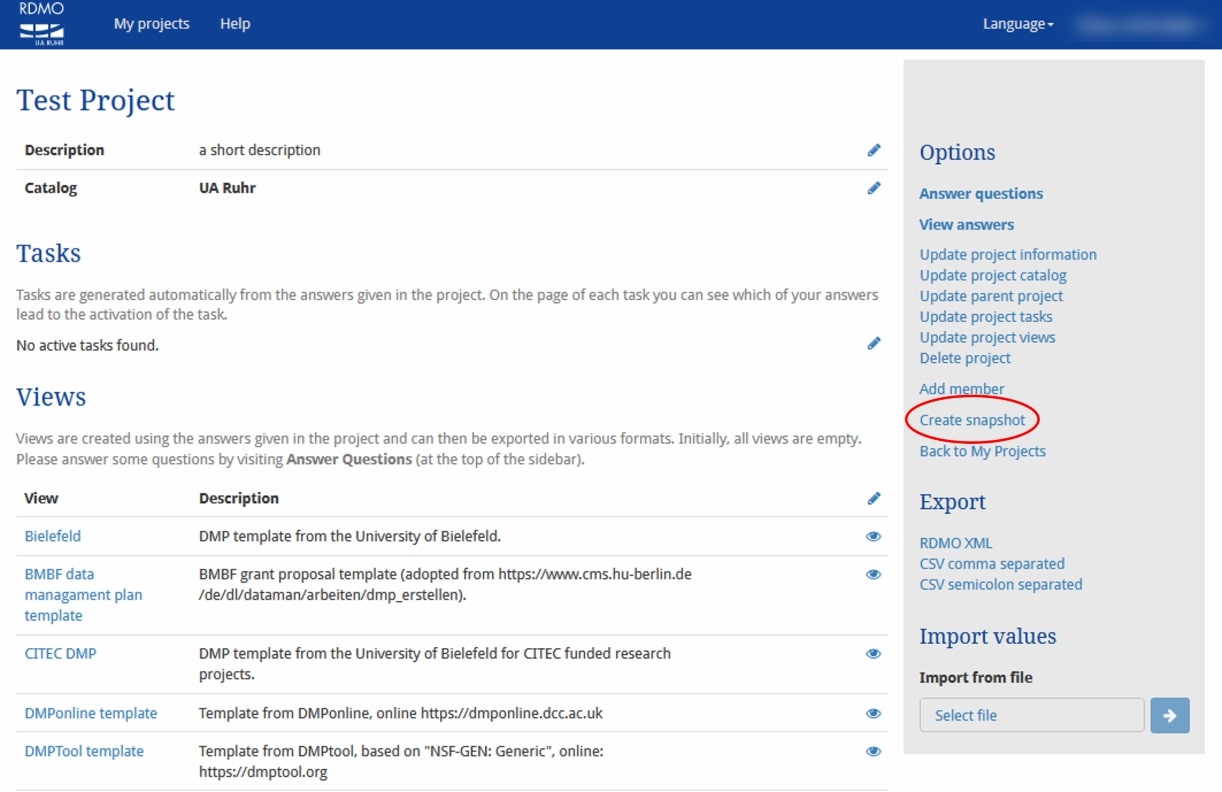
Select a project from the front page.
-
Choose the option “Create snapshot” from the menu on the right.
-
Next, enter a name and a description.
-
You can then find a list of your snapshots with their respective creation dates under “Snapshots” on the project page.
View snapshot
You can view your previous snapshots with the snapshot overview. It is also possible to view the different versions of your data management plan.
-
Select a project from the front page.
-
Scroll down to the snapshot overview.
-
Select the eye-symbol next to the snapshot you would like to view.
-
On the following page, you can switch between the snapshot and the present view.
-
If you would rather see the data management plan of a previous snapshot you can open the corresponding view. Here you can switch between current version and snapshot, too.

Restore snapshot
In addition to viewing an earlier version of a project, you can also reset the project to a specific state.
-
Go to the snapshot overview.
-
Select the arrow-symbol next to the snapshot to restore the project.
-
Confirm the recovery.
